All photos taken using Canon Rebel xsi 450D, 18-55mm lens.
Darcy touches on how photography has impacted her life and how the most important lesson is "Always, always take the photo. You will never get second chance at that moment." Recently, I've avoided taking pics of my kids indoors when I know I have to use the flash because they're not "good" photographs. But this is a mistake. Even a grainy, dark or washed out image can conjure a smile when it reminds me of a funny time or precious moment in the fleeting childhood of my girls. So lesson 1, check. Taken to heart. Take the photo.
Done and done. I have actually read my manual front to back before. 2 1/2 years ago when I got the camera. This was a great refresher and I was reminded of a couple of things. Like white balance. I've heard that term but never thought I needed to worry about it for my pics. Now I'm thinking that this may be where I'm going wrong. All the dials, knobs, and buttons have a purpose and by golly, if I don't know what they're for I should just go back to using a point and shoot.
Day 3: Shooting Fast vs. Shooting Slow
Day 3: Shooting Fast vs. Shooting Slow
While I knew about shutter speed, I feel like Darcy's analogy for the faucet and filling the cup will really help the concept to stick. She's such a great writer. So clear and concise. And, usually I adjust the ISO (next lesson) for light control but this allows for much finer tuning and can work together with ISO to generate a better image. Here's an example of how adjusting the shutter speed impacts the shot.
The difference is amazing! And I think somewhere in between would have been slightly better as the second shot is a wee bit light (I had consecutive shots of her sitting on the bleachers but accidentally deleted them. Bah).
Day 4: Controlling the Faucet - Learning ISO
Day 4: Controlling the Faucet - Learning ISO
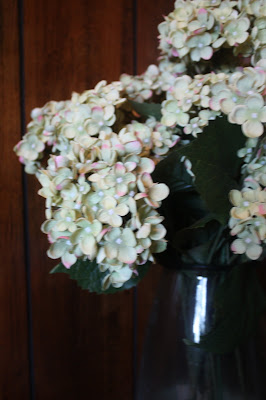
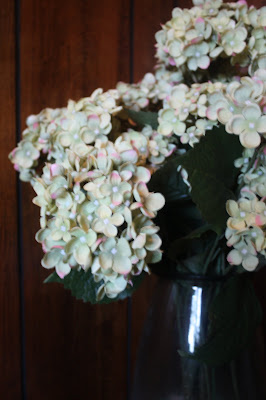
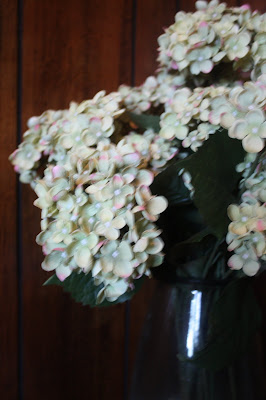
Because I struggle with indoor pics (so much easier not to screw things up to get a decent shot outside!) I chose a subject in the house where the light was wonky to try this exercise adjusting the ISO (because I was using Program mode, the shutter speed was automatically selected by my trusty friend Canon). Here are my shots:
ISO100 shutter 4"
ISO800 shutter 1/20
Honestly, I was pretty shocked by these results. I expected the 400 ISO pic to be the best but (because of the slow shutter speed) its very blurry and the higher ISO photos actually turned out better (at 800 and 1600). Interesting, berry, berry interesting.
There were no exercises for day 5 or day 6 but I do love some bokeh and was excited that Darcy doesn't know the correct way to pronounce it either!
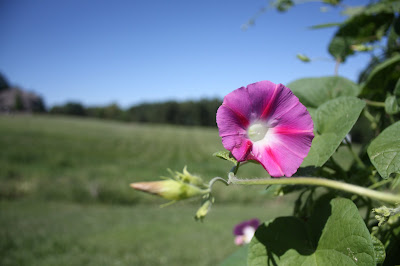
This was a lot of fun. As Darcy mentions, shooting in Av (Aperture priority) is a great for novices because you can control that fuzzy background look while the camera does the rest of the work for you. My lens is pretty basic (and I'm hoping I can justify the purchase of another, better lens after doing this 31 day series and my hubs sees that I'm serious about taking better pics) so my lowest f stop setting is 3.5 (at 18mm). I took pics of a number of different subjects and here's what I ended up with:
f/3.5 1/3200sec ISO200 18mm
f/22 1/60sec ISO200 18mm
I took a shot at each stop my lens allowed and wish I could post them all here. I need to start a Flickr set I suppose. But I almost always love the blurriest, most bokeh-iest image I can get. Now, if I was shooting a landscape that'd be a different story, I guess.
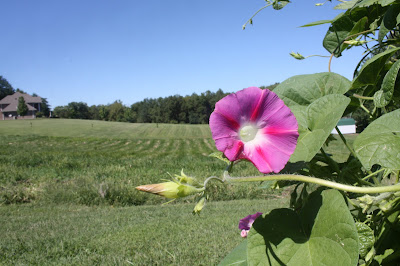
Here's a different set, again looking at the extremes with the first being f/3.5 and the second f/22 (same other settings as above).
So that's it for my first week at becoming a better photographer and better friend to good ol' Canon. We're starting to know each other very well. See you next Wednesday with a recap of more of my photog adventures.






No comments:
Post a Comment
Share something lovely...